Author: Shruti Srivastava, Associate Data Engineer


 B. Create SQL Managed Instance:
 C. Connect Azure Sql Server and SQL Managed Instance in SSMS.
Open SSMS and In Object Explorer Connect to Database Engine

 Both Azure Sql Server and Managed Instance will get connected in SSMS.
 D. Create a Database in Azure Sql Managed Instance .
 E. Migration Process


 9. Click on Finish.
 10. Click on Close.


In this blog, We will check how to migrate data from Azure SQL database to Azure SQL Managed Instance.
Pre-requisites:- Azure Account
- SSMS
- Click on Create Sql database .
- Enter subscription name, resource group, Database name, Server name.

- Select pricing tier : Standard with 10 DTUs and 100MB Data max size

- In additional setting choose data source as sample.

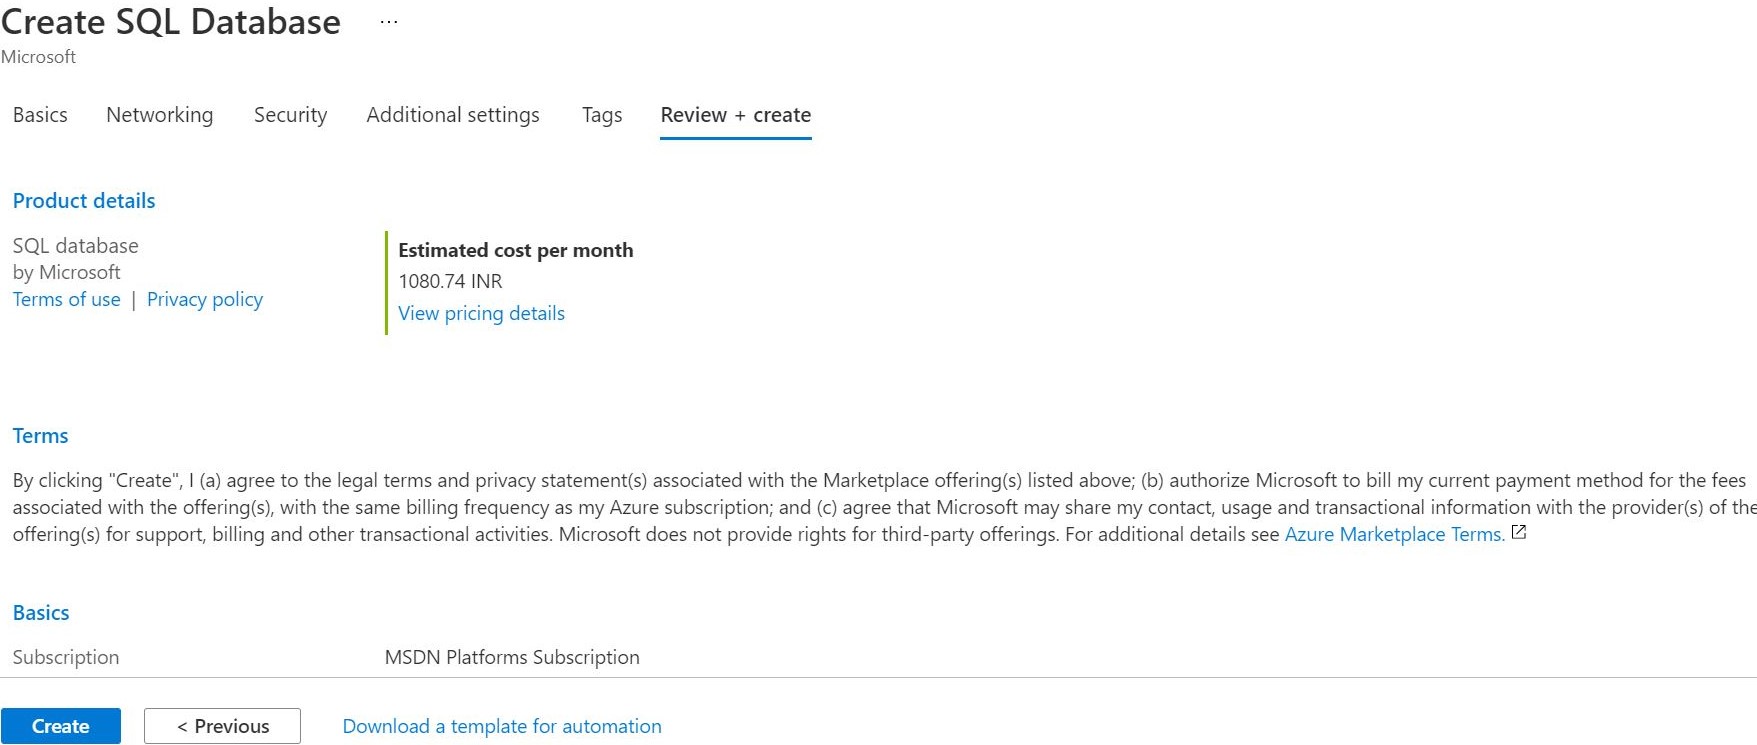
- Select review and create.

- Select create and azure sample database has been created.
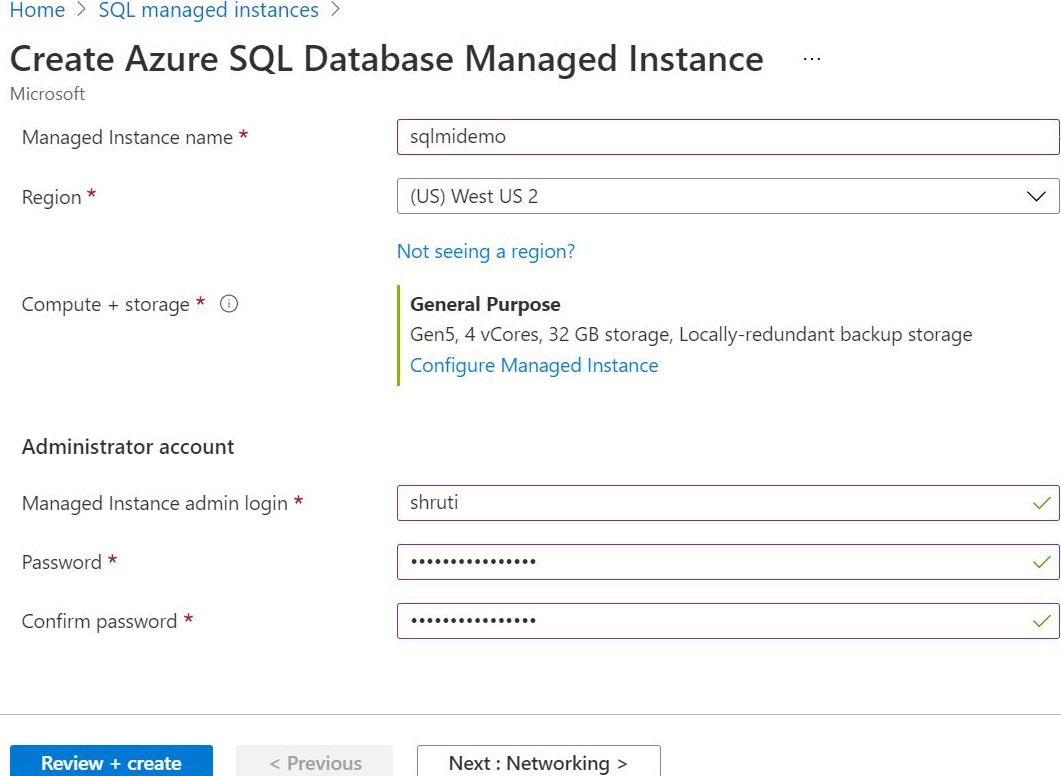
 B. Create SQL Managed Instance:
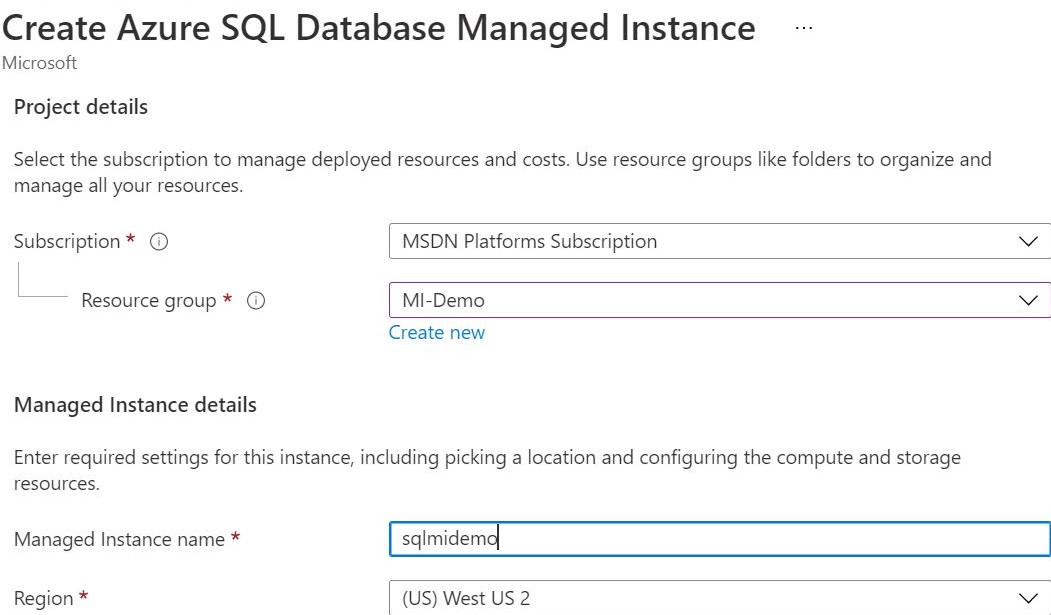
- Click on create Azure Sql Managed Instance in Azure Portal .
- Enter subscription name, resource group, Managed Instance name, Region.

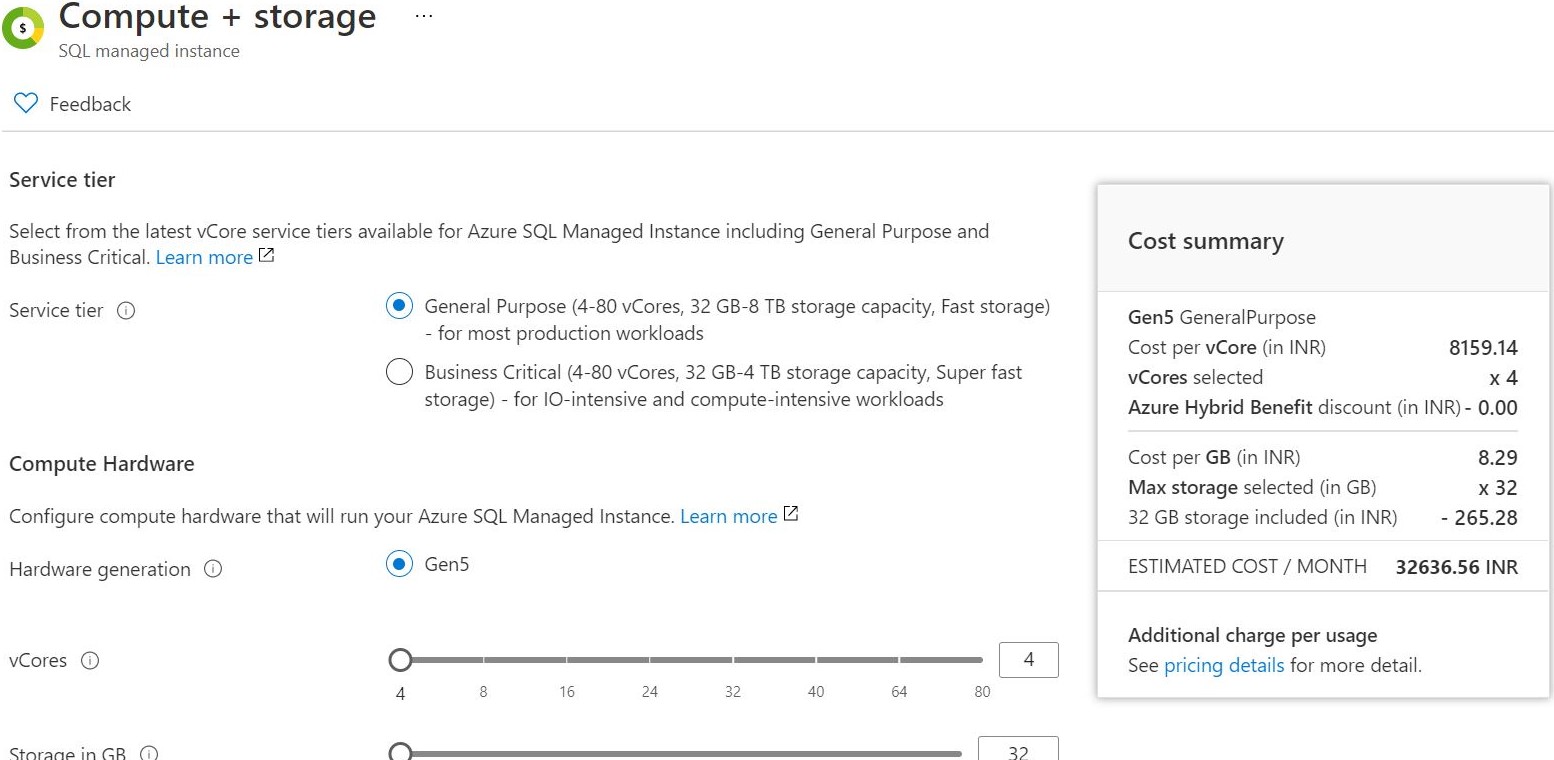
- Configure Compute and Storage.

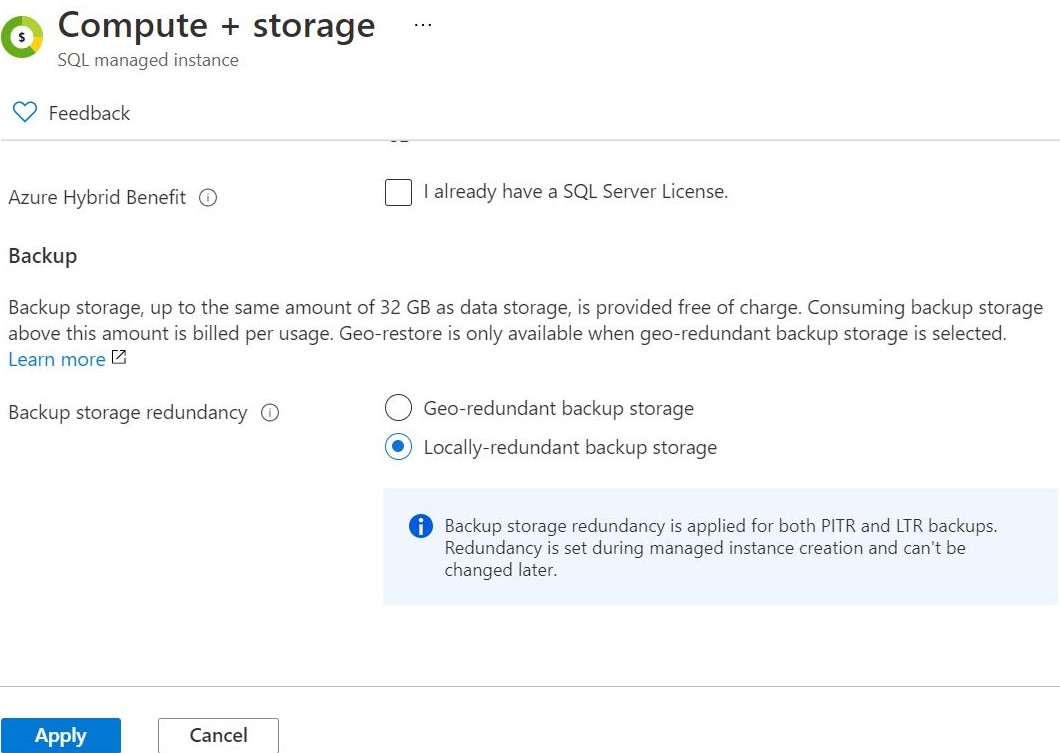
- Select Backup Storage redundancy as Locally-redundant backup storage.

- Enter Administrator account details like Managed Instance admin login and password.

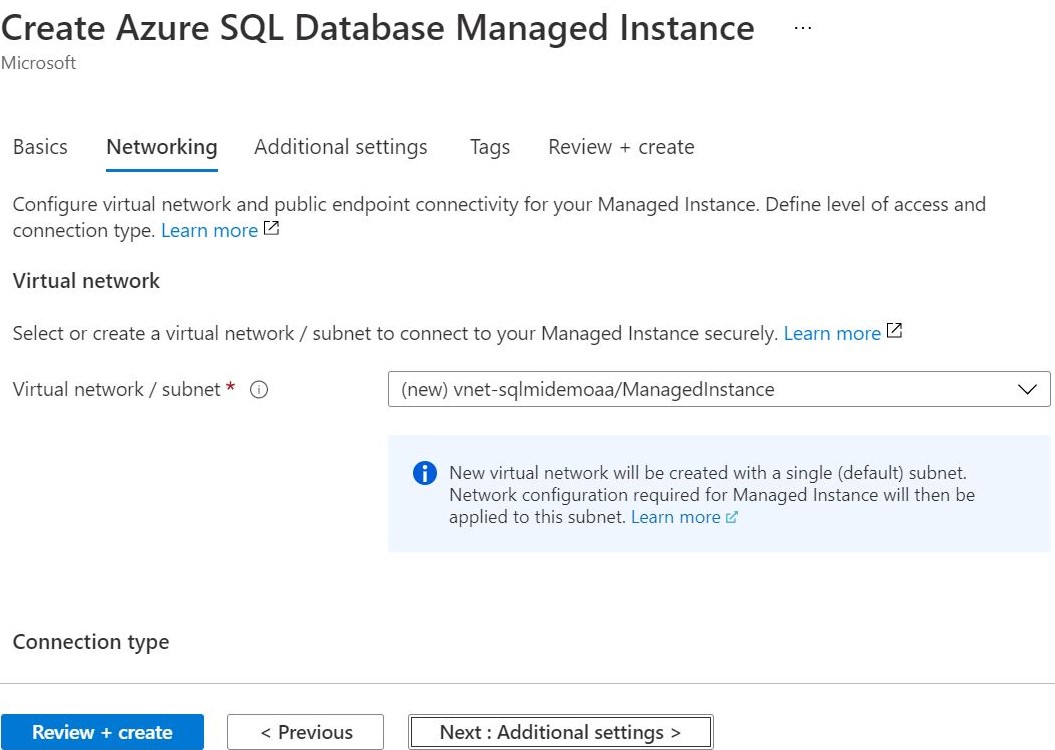
- Create a Virtual network and Click on Public end point enable .

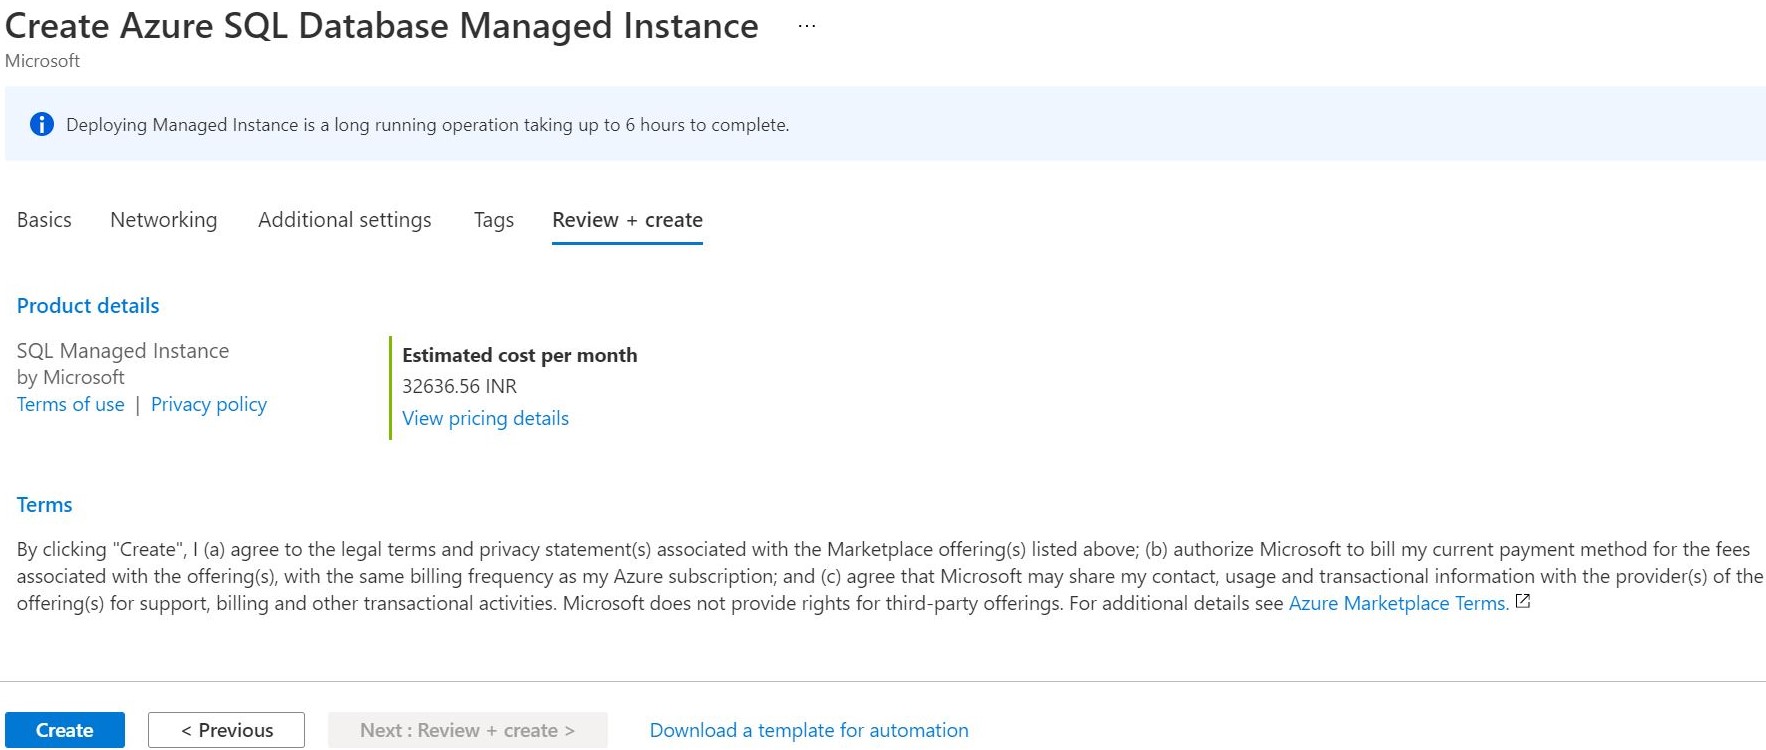
- Click on review and create.

- Click on Create and Azure sql Managed Instance has been created.
 C. Connect Azure Sql Server and SQL Managed Instance in SSMS.
Open SSMS and In Object Explorer Connect to Database Engine

 Both Azure Sql Server and Managed Instance will get connected in SSMS.
 D. Create a Database in Azure Sql Managed Instance .
- Right click on the databases and select new database and create.
 E. Migration Process
- As you expand databases of Sql server, you well database shrutitestdatabase. Under tables of this database you will the see tables of sample data.

- Right Click on database named shrutitestdatabase, click on Tasks and select Export Data.

- A Wizard will open up. Click on Next.

- Select Data Source as SQL server Native Client 11.0 and then write Azure Sql Server name. In Authentication, select SQL SERVER Authentication and write Username and Password. In database select the database name click on Next.

- Select Destination as SQL server Native Client 11.0 and then write Azure Sql Managed Instance server name. In Authentication, select SQL SERVER Authentication and write Username and Password. In database select the database name click on Next.

- Click on Copy data from from one or more tables or views and click Next.

- Select all Tables and Views of Source Server and Click on Next.

- Click on Run Immediately and Click Next.
 9. Click on Finish.
 10. Click on Close.

- You will get the tables of Sql Server shrutitestdabase in demodatabase of Managed Instance.


