Author – Moulshree Dhanawade, Cloud Engineer
This tutorial will help you create an Azure Data Factory pipeline to load data from multiple tables incrementally. This document will load data from a SQL database to another SQL database. This load is done when there are delta changes into the source side. The same delta changes are applied to the destination side.
Prerequisites –
- SQL database for source
- SQL database for destination
- Azure Data Factory.
Overview –
Important steps to create the structure –
Step 1 – Create a source table.
The code for creating source side tables is given below.
create table customer_table
(
PersonID int identity (1,1),
Name varchar(255),
LastModifytime datetime
);
INSERT INTO customer_table
(PersonID, Name, LastModifytime)
VALUES
(1, ‘John’,’9/1/2017 12:56:00 AM’),
(2, ‘Mike’,’9/2/2017 5:23:00 AM’),
(3, ‘Alice’,’9/3/2017 2:36:00 AM’),
(4, ‘Andy’,’9/4/2017 3:21:00 AM’),
(5, ‘Anny’,’9/5/2017 8:06:00 AM’);
create table customer_table_2
(
PersonID int identity (1,1),
Name varchar(255),
LastModifytime datetime
);
INSERT INTO customer_table_2
(PersonID, Name, LastModifytime)
VALUES
(1, ‘John’,’9/1/2017 12:56:00 AM’),
(2, ‘Mike’,’9/2/2017 5:23:00 AM’),
(3, ‘Alice’,’9/3/2017 2:36:00 AM’),
(4, ‘Andy’,’9/4/2017 3:21:00 AM’),
(5, ‘Anny’,’9/5/2017 8:06:00 AM’);
Step 2 – create table schema for the destination database
Here is the code to create a table schema for destination
create table customer_table
(
PersonID int identity (1,1),
Name varchar(255),
LastModifytime datetime
);
create table customer_table_2
(
PersonID int identity (1,1),
Name varchar(255),
LastModifytime datetime
);
Step 3 – create a watermark table on the destination side.
Here is the code to create a watermark table on the destination side.
CREATE TABLE [dbo].[watermarktable](
[TableName] [varchar](255) NULL,
[WatermarkValue] [int] NULL
) ON [PRIMARY]
GO
ALTER TABLE [dbo].[watermarktable] ADD DEFAULT ((0)) FOR [WatermarkValue]
GO
Step 4 – Create a stored procedure to dynamically enter the value of the updated identity value from the tables.
This stored procedure will run at last and update the highest watermark value for each run and store it in the watermark table.
Code for the stored procedure will be as follows
Create procedure Test_uw
AS
UPDATE watermarktable
SET
WatermarkValue = ISNULL((SELECT MAX(PersonID) FROM customer_table),0)
WHERE TableName = ‘customer_table’;
GO
UPDATE watermarktable
SET
WatermarkValue = ISNULL((SELECT MAX(PersonID) FROM customer_table_2),0)
WHERE TableName = ‘customer_table_2’;
GO
Steps to create ADF pipeline-
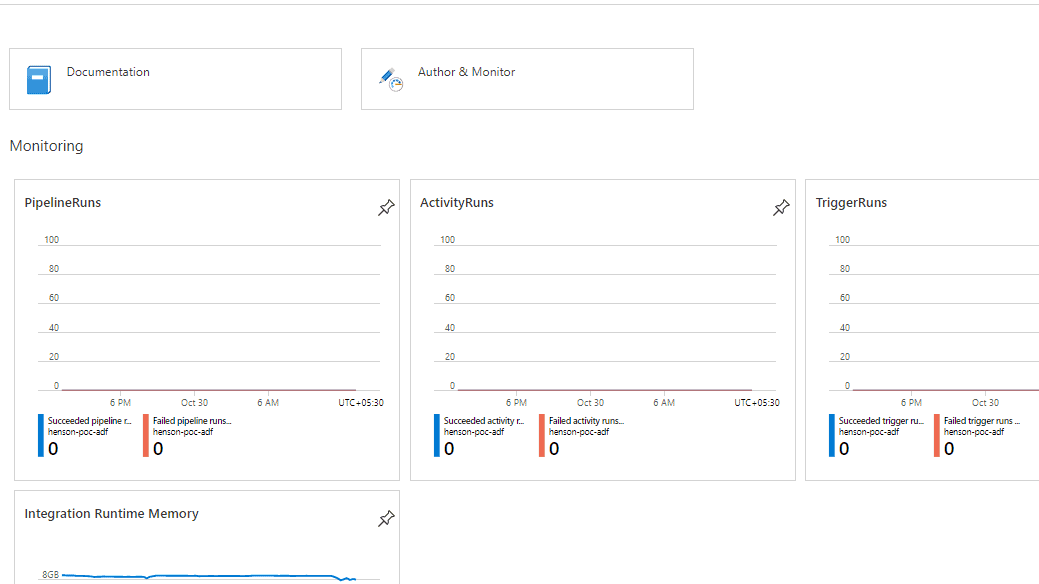
Step 1 – Create an Azure Data Factory V2 at any location. Click on ‘Author and monitor’.
Step 2 – Click on “Create Pipeline”
Step 3 – Insert a ForEach pipeline from the General activity tab.
Step 4 – In the parameters tab click New and add the parameter as ‘tableList’ and type as ‘Object’.
Step 5 – Select ‘ForEach‘ activity and select settings tab. Insert ‘@pipeline().parameters.tableList’ query in items.
Step 6 – Click on the Edit I.e. the Pencil icon in ForEach activity. A new board to insert activity will open.
Step 7 – Drag a “Lookup” activity from the general tab.
Step 8 – Enter the Name of the Lookup activity as “Lookup_watermark”.
Select the Settings tab and select “New” to add the watermark table here as the source from where the lookup activity will select the maximum identity value. Select Azure SQL Database, the name is as ‘AzureSQLdatabase_1’ and select Linked service as ‘new’.
Name the linked service as ‘AzureSQLdatabase_1’ and fill the required fields for connection.
Note – Select the proper server and table where the watermark table is made. Here I have made the watermark table on the destination side.
Click ‘Finish’. Enter the table as the ‘Watermark’ table.
Now click ‘Finish’.
Step 9 – Go to the settings tab and click the query option.
Insert this query into the column specified:
select MAX(PersonID) as NewWatermarkvalue from @{item().TableName}
Step 10 – Drag a Copy data activity from the ‘Move and transform’ tab.
Select the ‘Source’ tab and click ‘New’.
Select ‘Azure SQL Database’ and enter the name as ‘AzureSQLdatabase_2’. Click on the new linked service and fill in details to attach the source database. Click on ‘Finish’. Next do not select any table from the source.
Enter Query in the settings tab. Enter Query as
‘select * from @{item().TableName} where PersonID > ‘@{activity(‘Lookup_watermark’).output.firstRow.NewWatermarkValue}’
Step 11 – Select the ‘Sink’ tab and click on ‘New’.
Name it as ‘AzureSQLdatabase_3’ and click on a new linked service. Enter the connection details for the destination database where you require your tables to be copied. Do not select any table here too.
Go to the ‘Edit’ option and select the parameters tab. Enter Parameter as ‘SinkTableName’ and select type ‘string’. In Default, Value clicks ‘ALT+P’ and select ‘SinkTableName’ and click Finish.
Step 12 – Enter Value of sink table name in the sink tab as ‘@{item().TableName}’.
Enter stored procedure as ‘@{item().StoredProcedureNameForMergeOperation}’
Enter Table type as ‘@{item().TableType}’
Enter Table type parameter name as ‘@{item().TableName}’ as shown below.
Step 13 – Drag ‘Stored procedure’ from the ‘general’ tab. In the SQL Account tab select a linked service from the database where the stored procedure is created. In the Stored procedure tab, select the stored procedure name.
Enter the parameters “PersonID”. Type as ‘INT’. And Value as ‘@activity(‘Lookup_watermark’).output’.
Connect the lookup to the copy activity and copy activity to the stored procedure.
Step 14 – Click on “Publish All” and then click on trigger and click “trigger now”.
The pipeline will run, and the row will be copied. You can also set a trigger to run the pipeline at a particular time.
If there are any changes on the source side, the same changes will be reflected on the destination side. Using an identity column makes sure the delta copy is done correctly and, also the problem of overwriting of rows is solved.
Conclusion – Azure Data Factory is the best way to do data transformation and create data-driven workflows in the cloud.


