Overview
This walkthrough explains how to host Laravel application on an Azure web app with the help of Visual Studio Code. Laravel is a PHP-based web framework that is based on the MVC architecture. It is designed for developers who need a simple and elegant toolkit to create full-featured web applications. If you are familiar with Core PHP and Advanced PHP, Laravel will make your task easier. Laravel saves a lot of time if you are planning to develop a website from the scratch.
Azure Web App Service
The Azure App Service is a platform for hosting web applications and REST APIs, it is providing so many features such as security, load balancing, autoscaling, and automated management. You can also take advantage of its DevOps capabilities, such as continuous deployment from Azure DevOps, GitHub, Docker Hub, and other sources, package management, staging environments, custom domain, and TLS/SSL certificates.
Prerequisites
- Xampp/Lampp server
- Visual Studio Code
- Composer
- Azure subscription
- Azure CLI
Before hosting an application, we need an application in our local environment if you don’t have an existing application, you can use the below-given command to create a sample application in Laravel.
$ composer create-project laravel/laravel "Project_name"
$ cd "Project_name"
$ php artisan serve
Now open your browser and add this IP http://127.0.0.1:8000 it will show a sample website.
Creating Azure web app using CLI
Now we required an azure web app for hosting the application you can use azure Portal or Azure CLI, for this blog we used Azure CLI. You can use the below-given command to create an Azure web app
$ az group create –location <Region> –name rg-webapp
$ az appservice plan create –name webservice-plan –resource-group rg-webapp –sku B1
$ az webapp create –name <Web_app_name> –resource-group rg-webapp –plan webservice-plan –runtime "php|7.4
$ az webapp list -o table
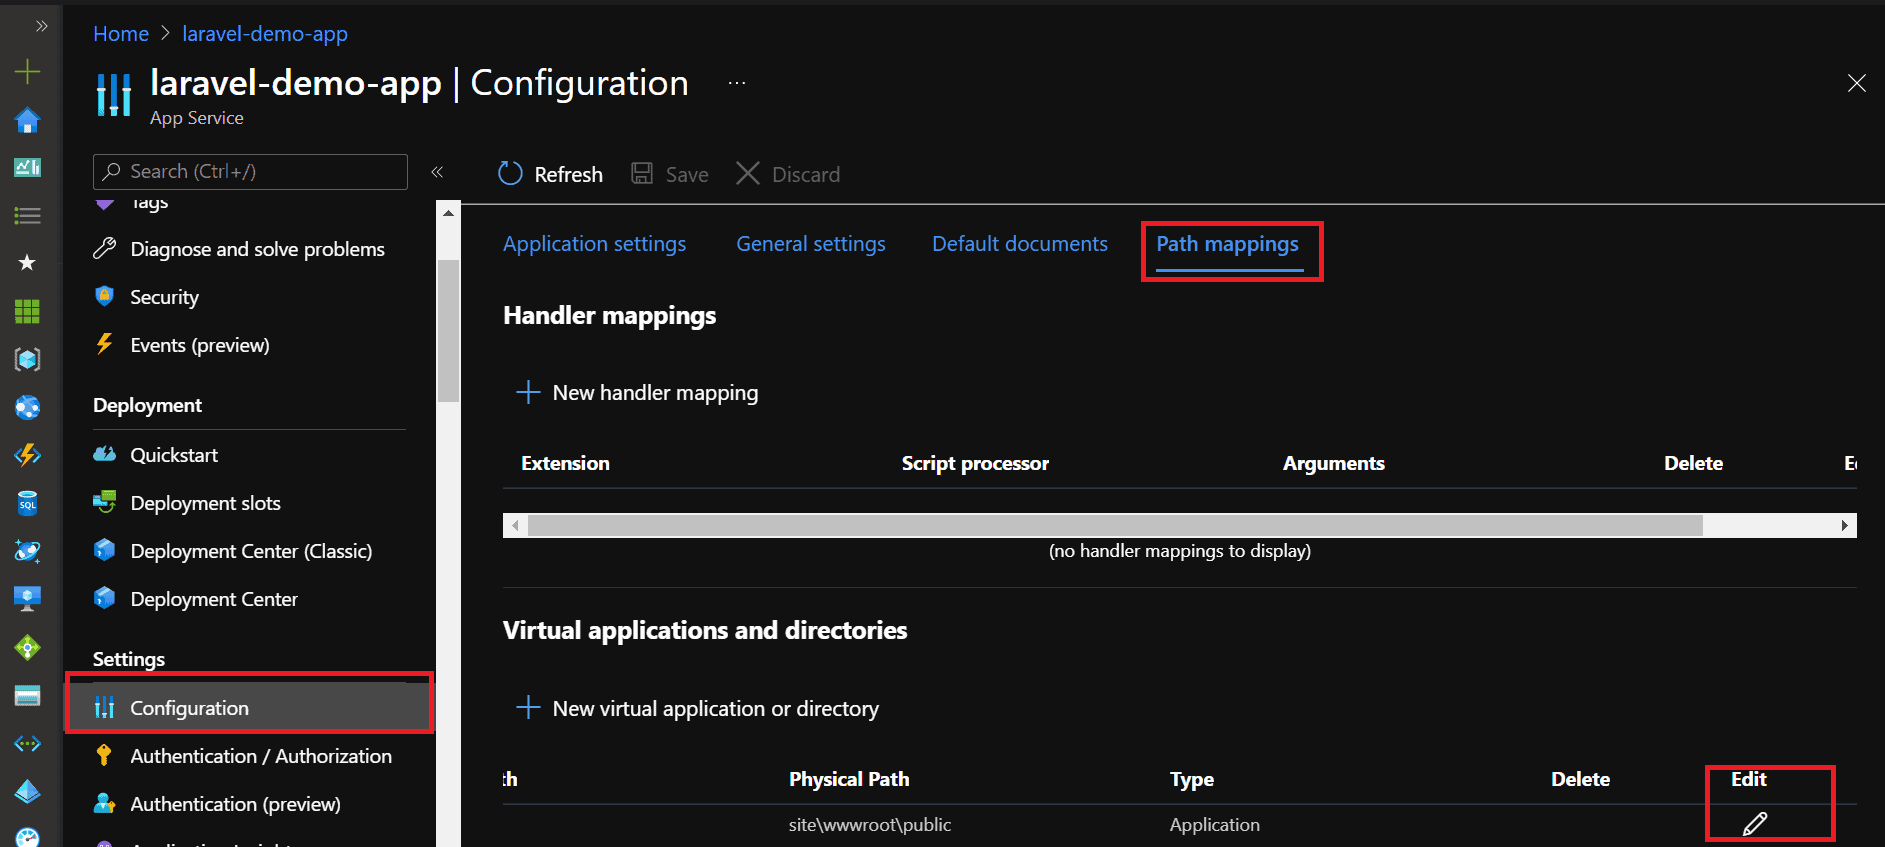
Now we need to update the physical path of the web app
- Open azure portal select your web app
- Click on configuration->path mapping
- Click Edit on Virtual applications and directories section
- Update Physical Path site\wwwroot to site\wwwroot\public
- Save this configuration
Here Your Azure Web app is created and configured now we can start code deployment process
Application Deployment on web app
Before deploying application on azure web app make sure your application should run in your local environment.
1. Open VS Code Click on File->Open Folder->Select Project Folder
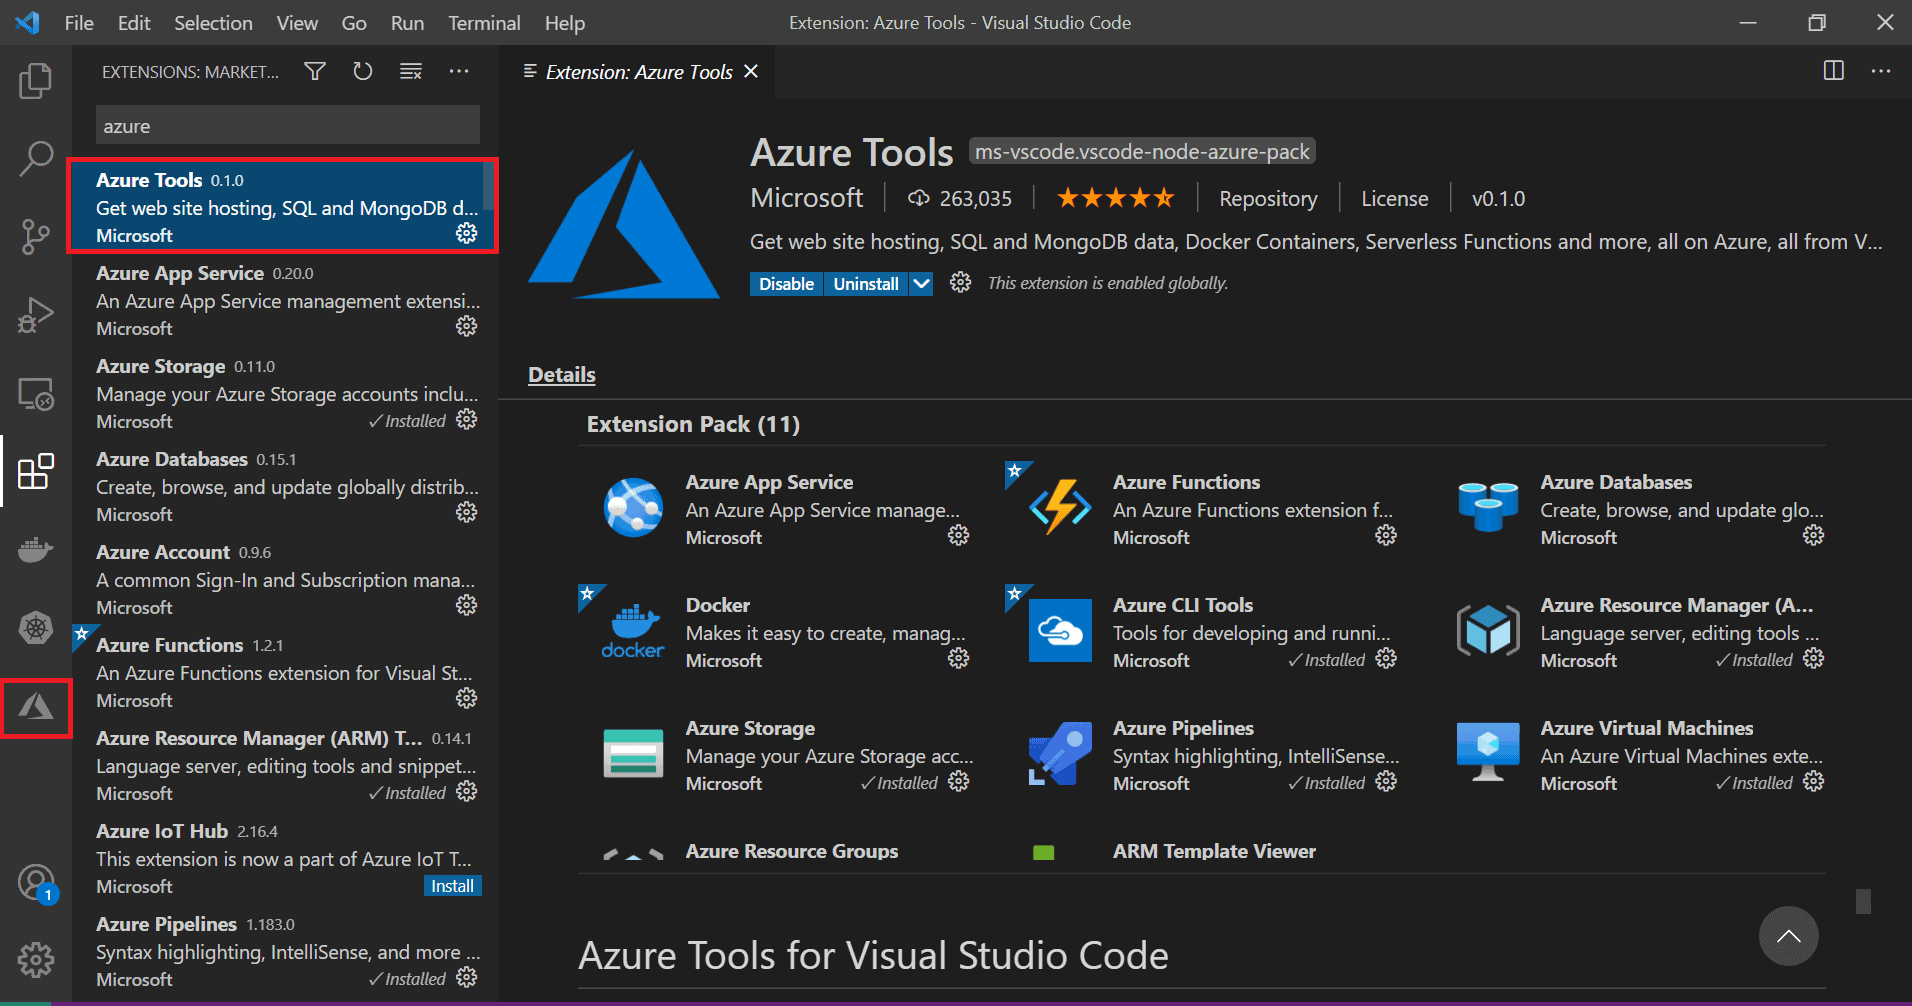
2. Add Azure extension on VS Code
3. Click on Azure Icon and in the App service section click on the up arrow
4. Select project folder->Select your subscription->Select your web app->deploy
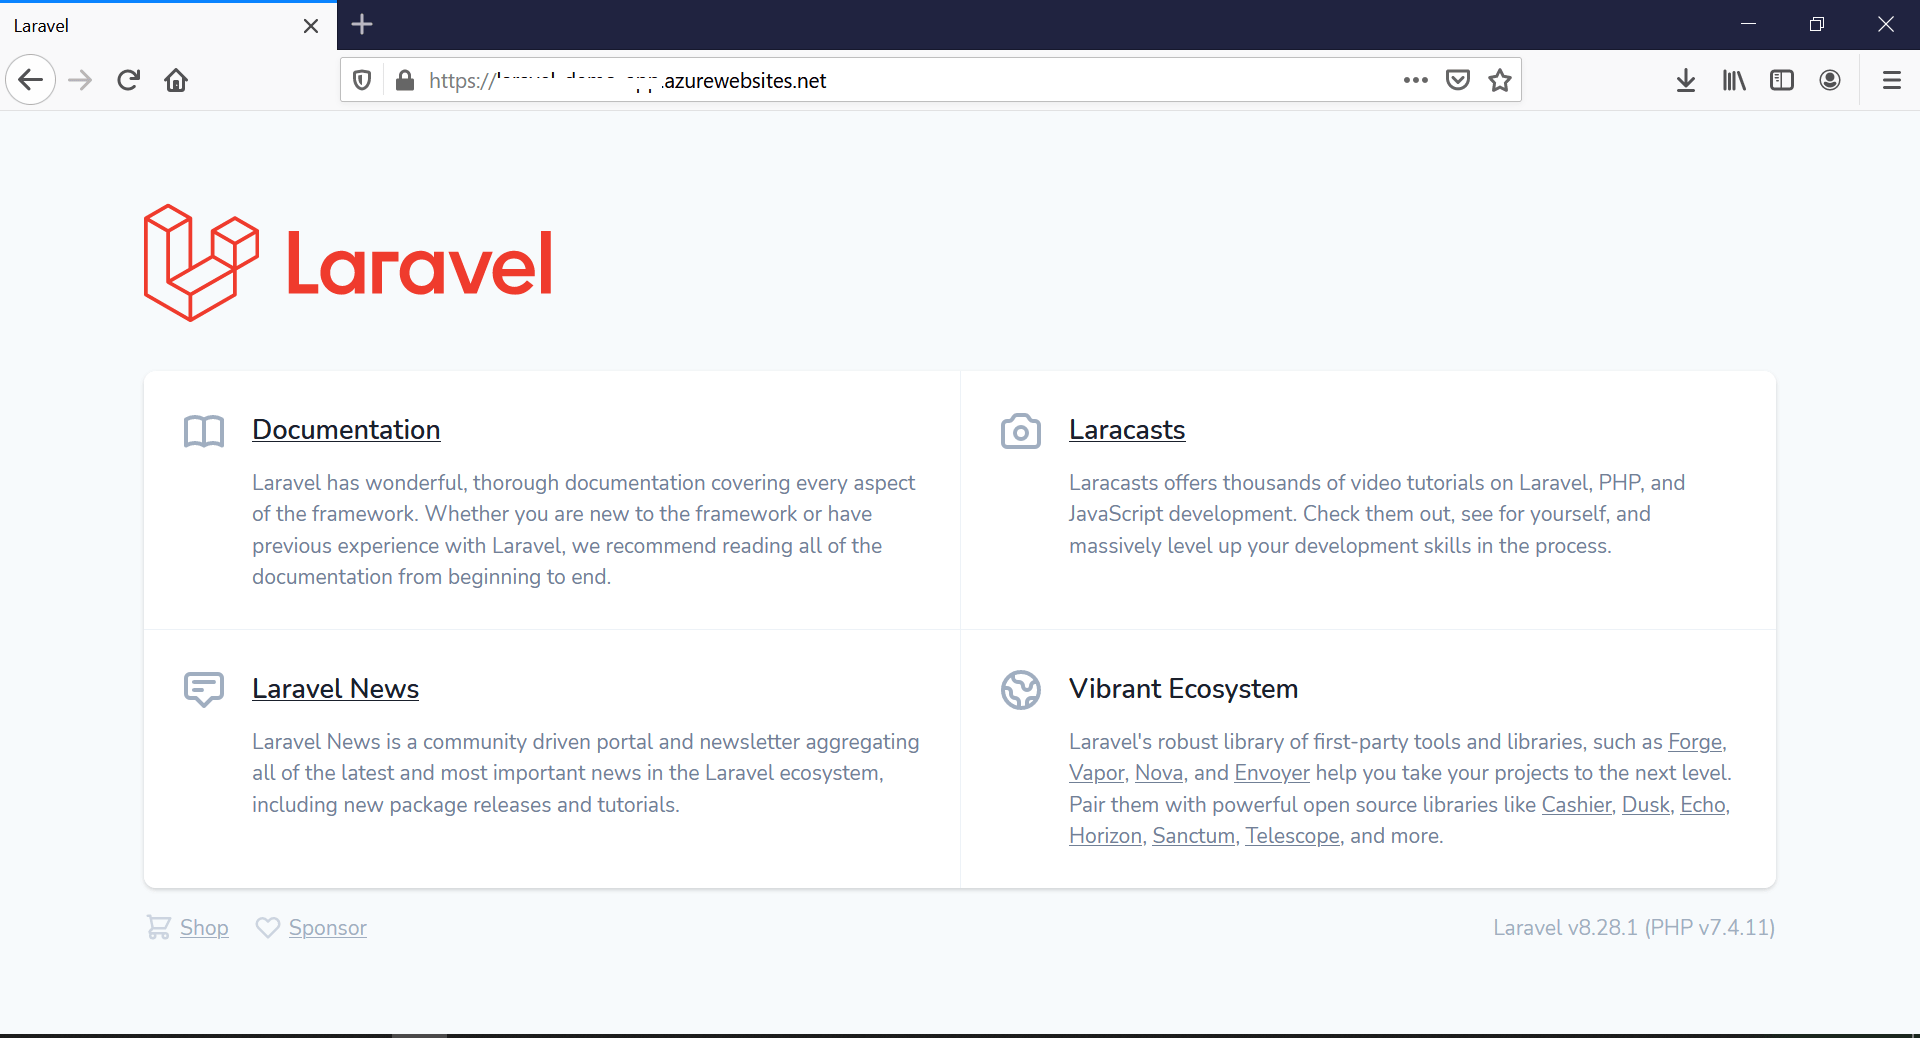
The output should be look like this
We have deployed our Laravel application on azure web app you can follow all this step for deploying your application.


